Hashimoto's Bucolic Cube Puzzle (2024)
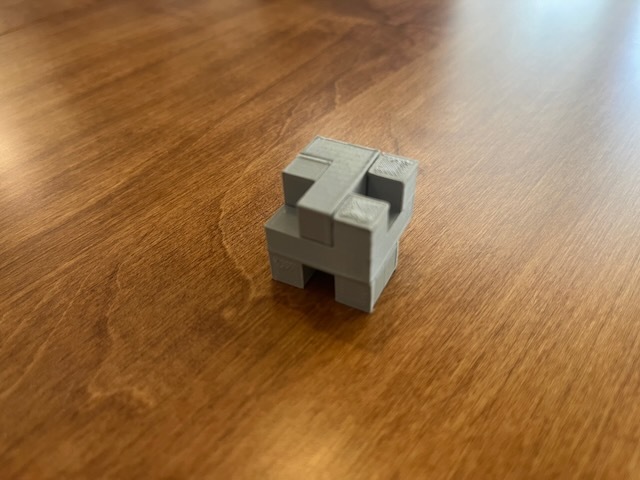
I was first introduced to Hashimoto's Bucolic Cube puzzle by Stan Issacs and Scott Vorthman at a Bay Area Art Math (BAAM) meetup before Gathering 4 Garder 15 (G4G15):
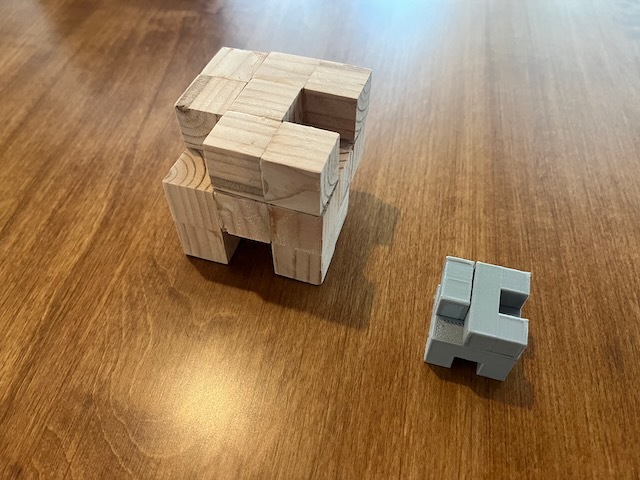
I was reintroduced to it after G4G15 by two different friends who showed me their gifts (I attended, but didn't participate in the gift exchange). Finally getting hooked, but failing to solve it in the time I had to play with it, I 3D printed my own (scaled to be 1 cubic inch when solved).
and after an embarassingly long time I solved it!
The small plastic pieces were a little unsatisfying, so I started thinking about making a larger version out of wood. I had been looking for a woodworking project to do by hand, instead of with the CNC, and this seemed like a good choice.
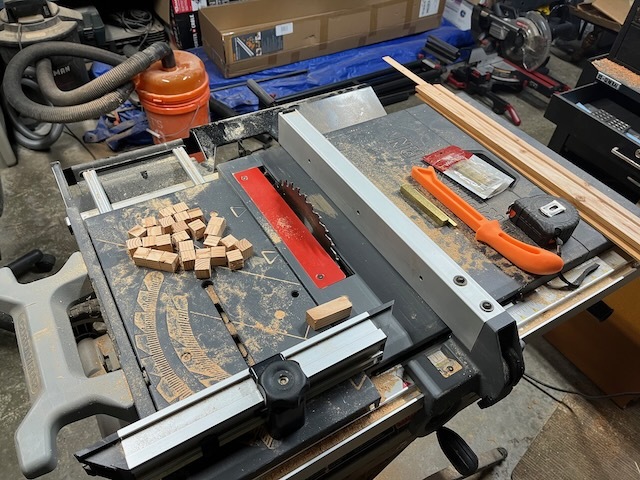
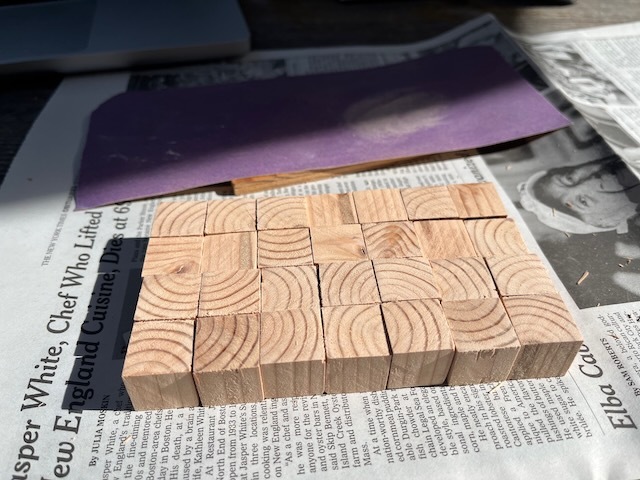
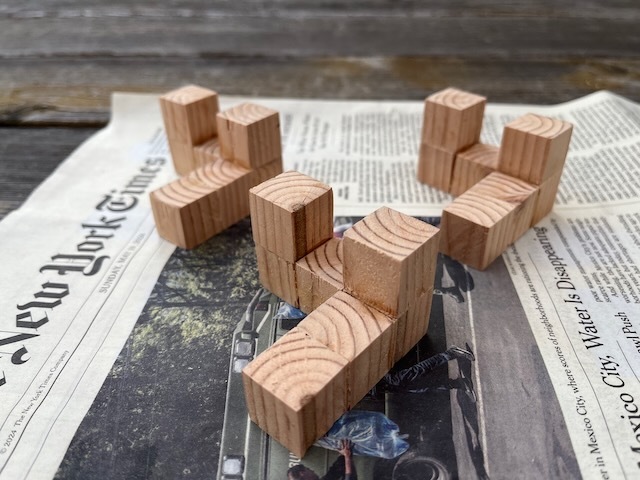
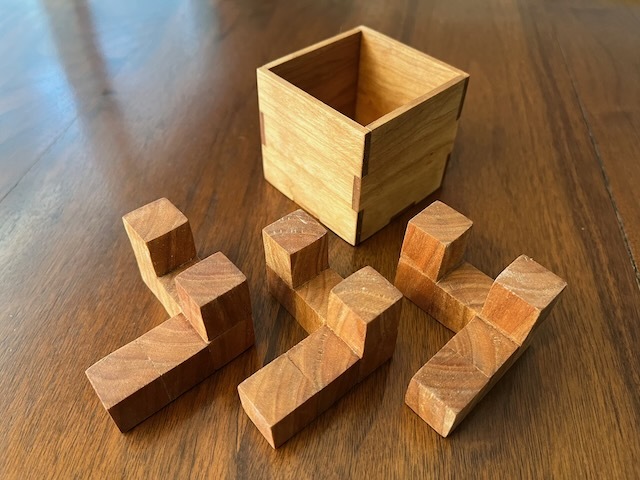
I started with some scrap pine and cut a bunch of 3/4 inch cubes on the table saw (scaled to be 2-1/4 cubic inches when solved).
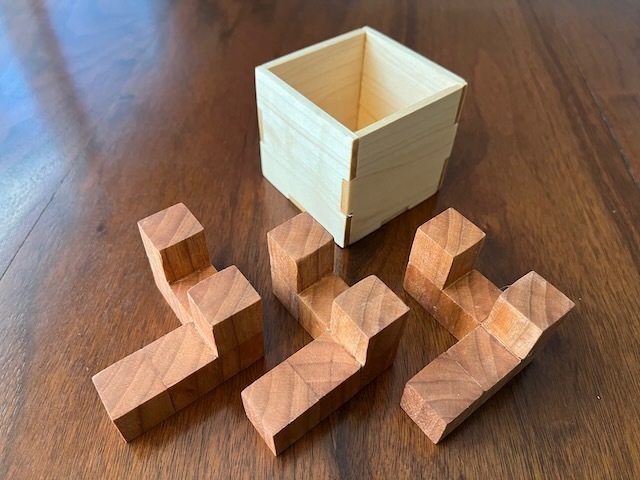
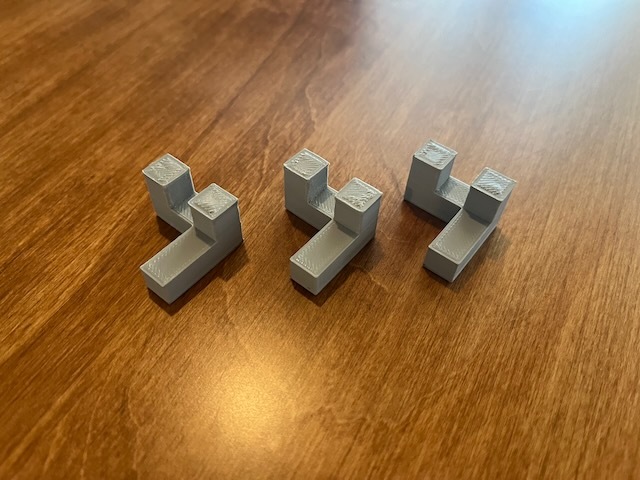
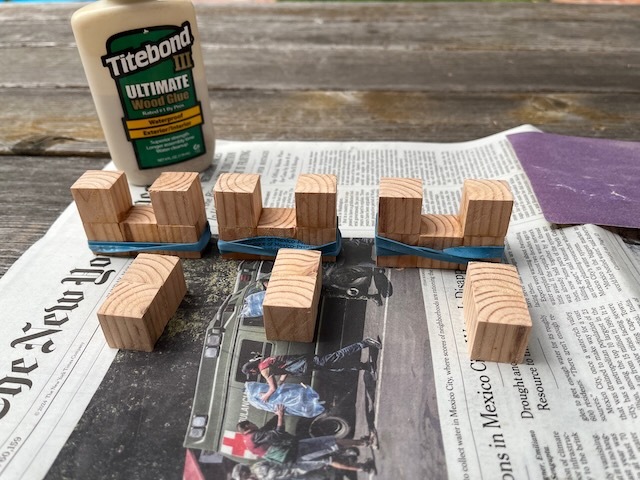
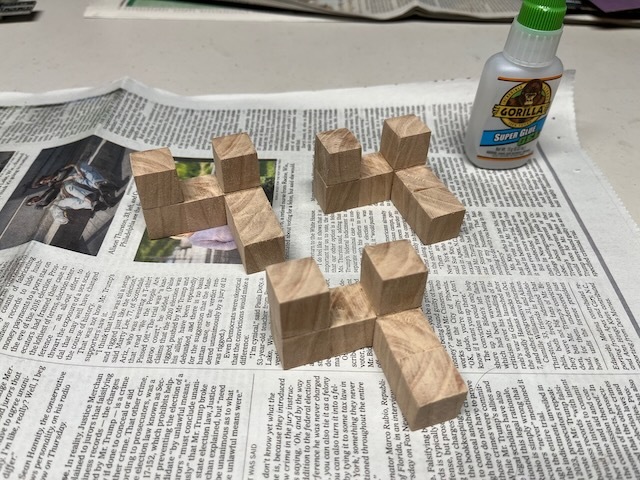
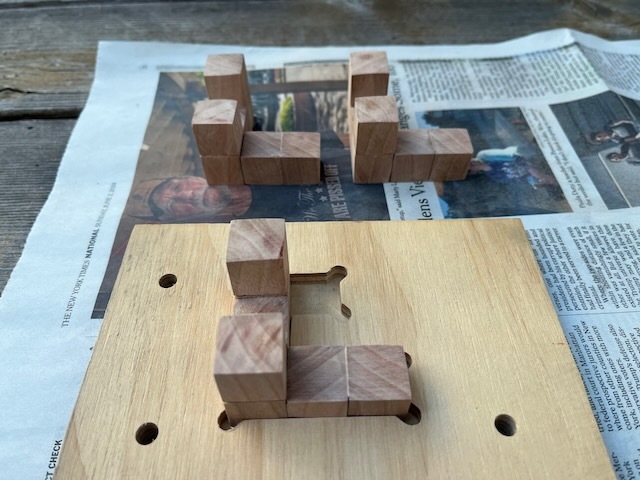
I glued the cubes together into the three puzzle pieces, seven cubes per piece, clamping them with rubber bands.
As expected, this larger wood version was a lot more satisfying to solve.
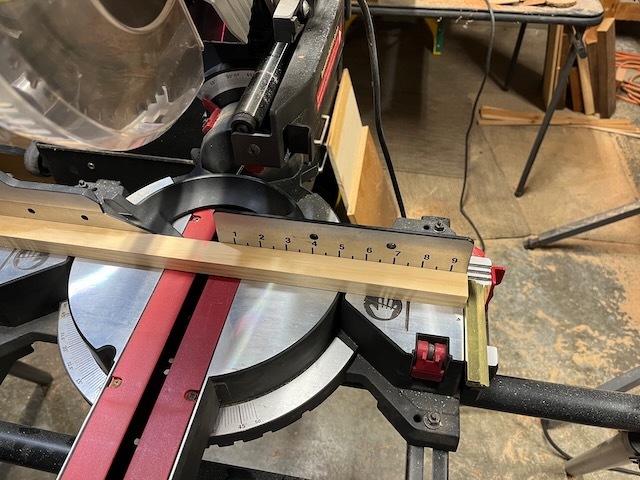
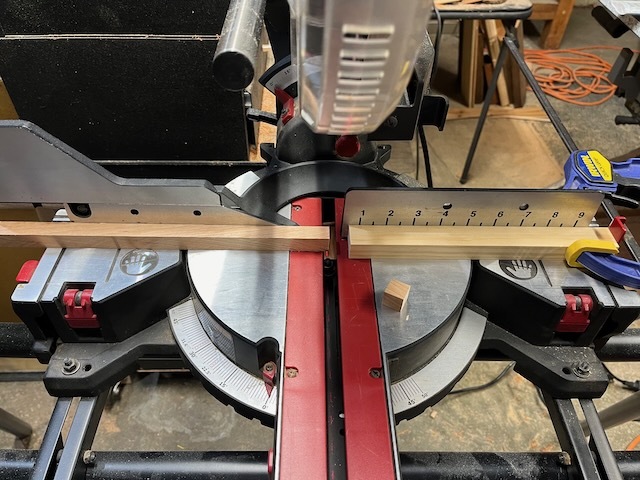
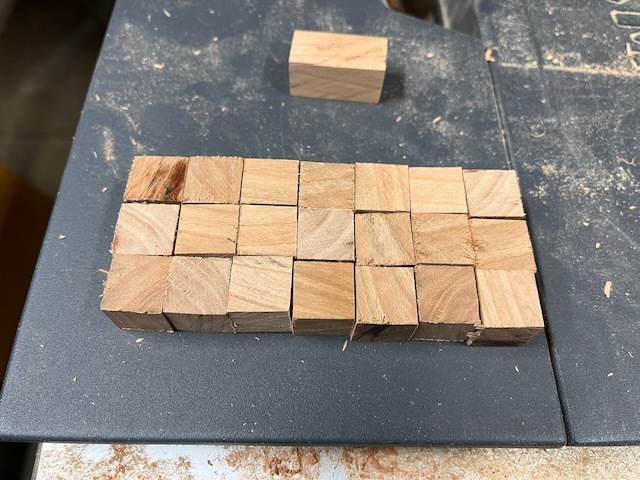
Happy with the prototype I picked up some cherry hardwood to make a nicer puzzle out of. I bought a length of 1x2 dimensional lumber and then, to minimize waste given the annoying reality that a 1x2 is really only 3/4 by 1-1/2 inches and my table saw has a 1/8 inch kerf, scaled the puzzle down to 11/16 inch cubes (2-1/16 cubic inches when solved).
I ripped the 1x2 into to 11/16 x 11/16 strips and then crosscut those into 11/16 cubes.

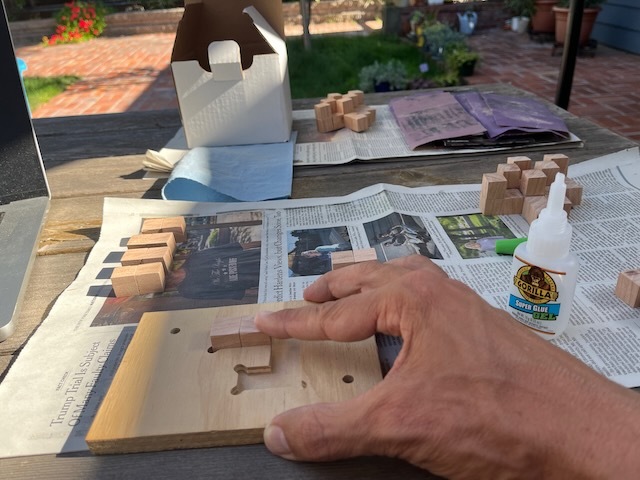
I sanded the cherry cubes and then experimented with gluing them together with Cyanoacrylate (CA) glue to eliminate the need for clamping and to reduce the assembly time.
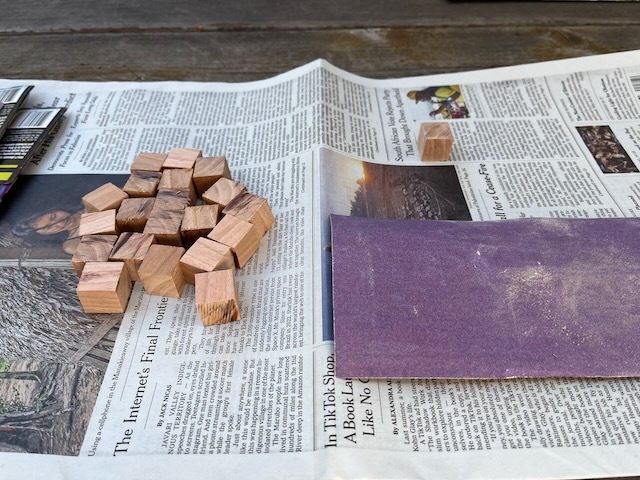
The CA glue made assembly quicker, but it was hard to position the cubes accurately with the short open time, leading to a lot more finish sanding to get the puzzle pieces to slide together smoothly in all the ways that they need to (it's critical to the difficulty of the puzzle that it's easy to put the pieces together in all of the wrong ways ;-)).
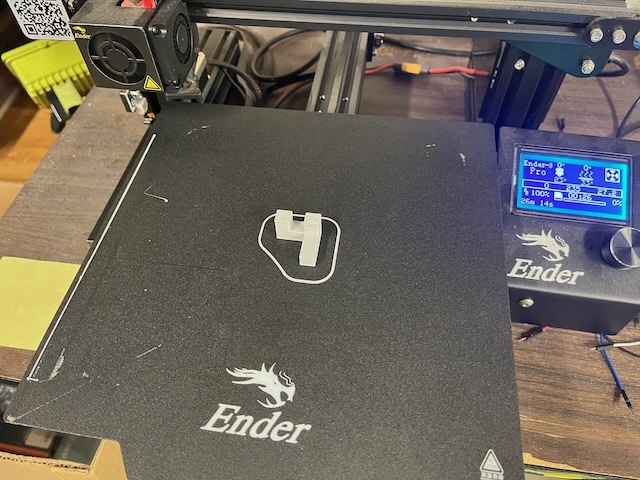
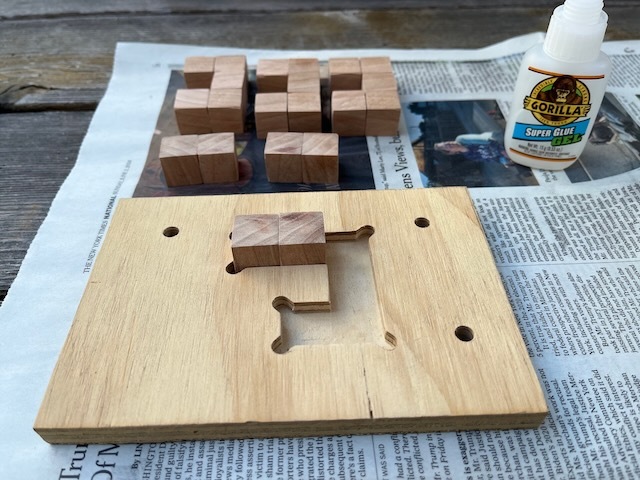
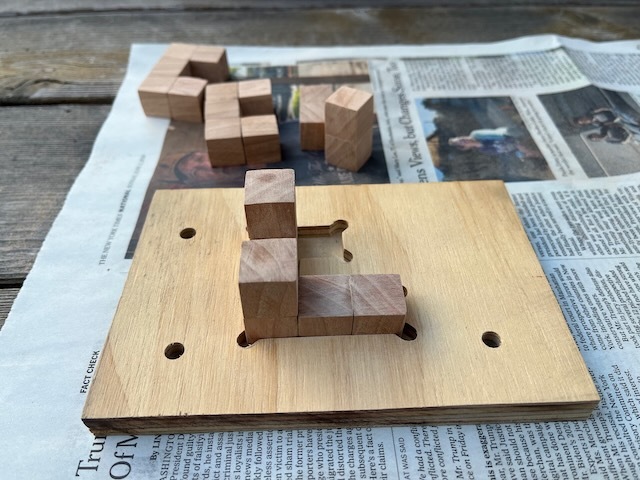
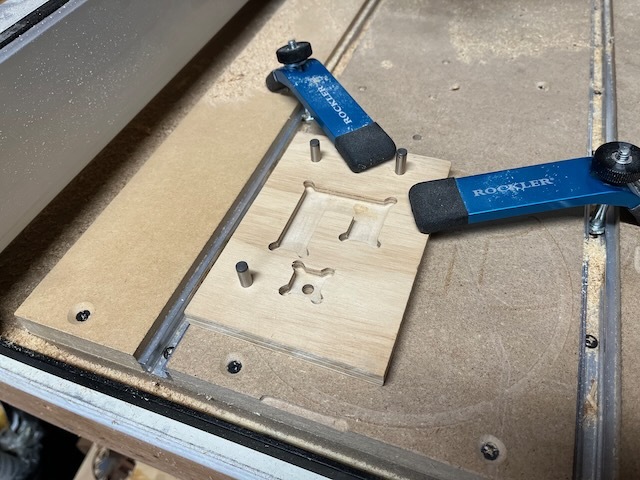
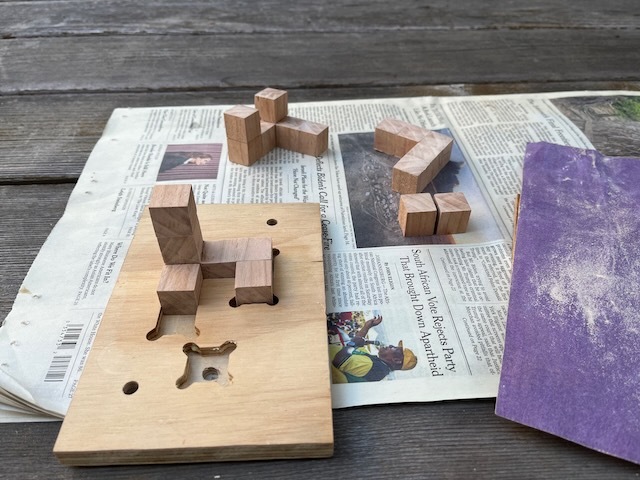
I decided that it wouldn't be cheating to cut a jig on the CNC to aid in assembly.
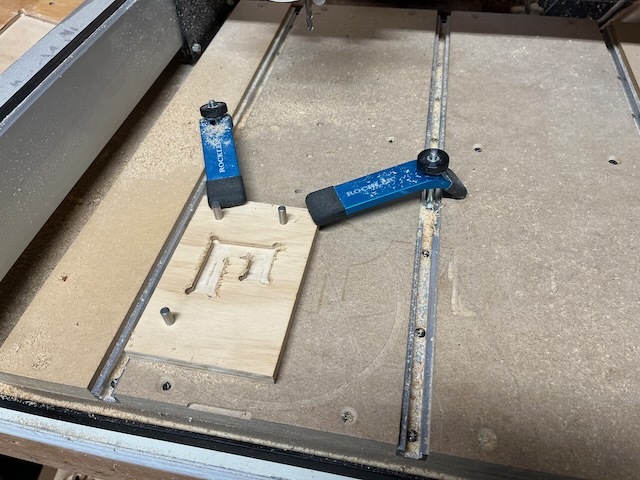

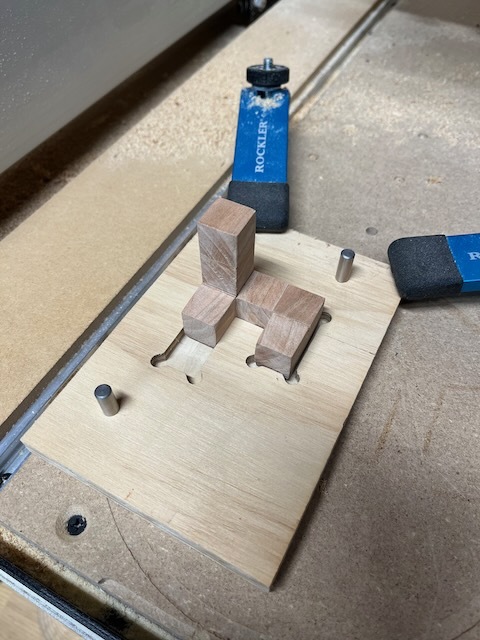
The jig worked great, allowing for quick and accurate assembly, though the eagle-eyed reader will notice that this first puzzle I assembled is backwards. Oops, but it doesn't really matter, the puzzle works either way.
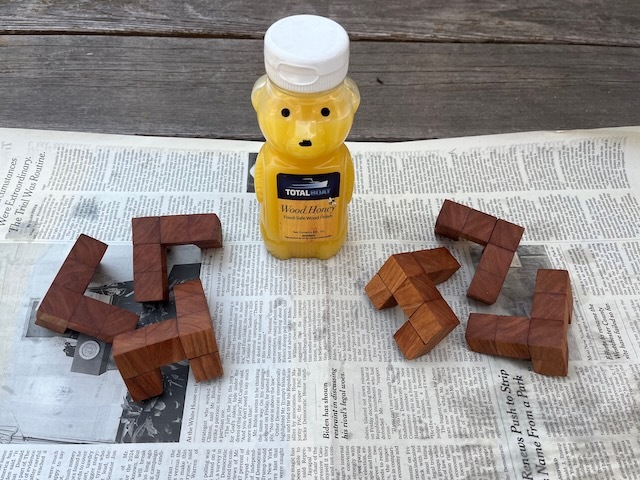
Happy with the assembly process, I started experimenting with finishing options. I've used tung oil in the past and although it looks nice it's a mess to work with in terms of cleanup and drying time. I'd heard good things about Total Boat's Wood Honey and decided to give that a try. It's much easier to work with and gave great results.
I started sharing these first two puzzles with friends and family and quickly discovered that CA glue is just too brittle. Both puzzles ended up breaking at the glue joints and needing to be repaired.
I breifly thought about using dowel pins to strengthen and align the joints, even cutting a jig on the CNC to help locate the holes, but decided that it would be too much work.
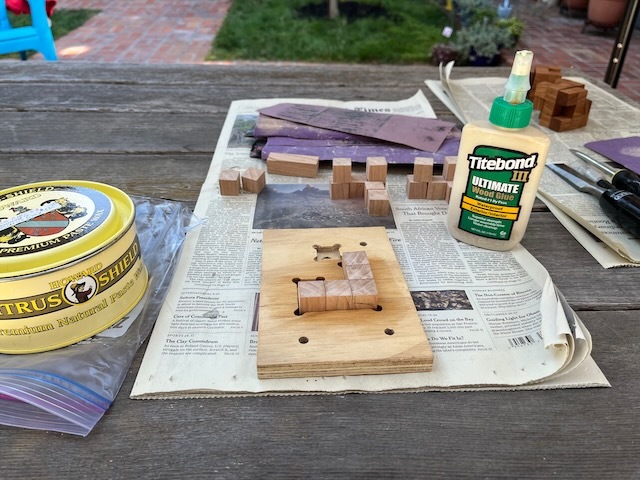
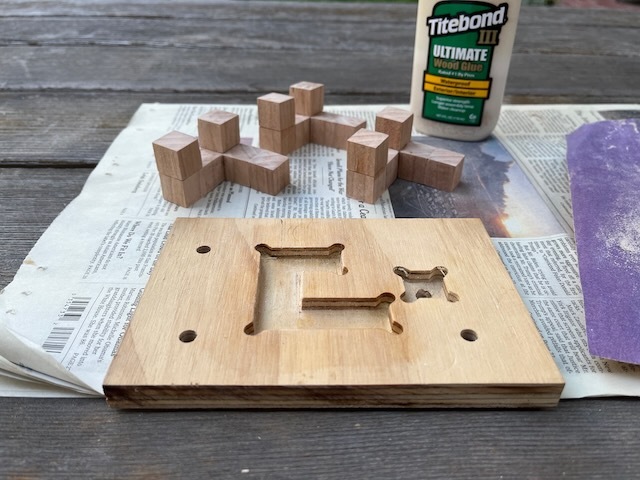
In the end I just switched back to wood glue, using paste wax on the assembly jig to keep the glue from sticking to it. I learned that I was able to remove the pieces from the jig after just a few minutes without any problems, with plenty of time to clean up any excess glue.
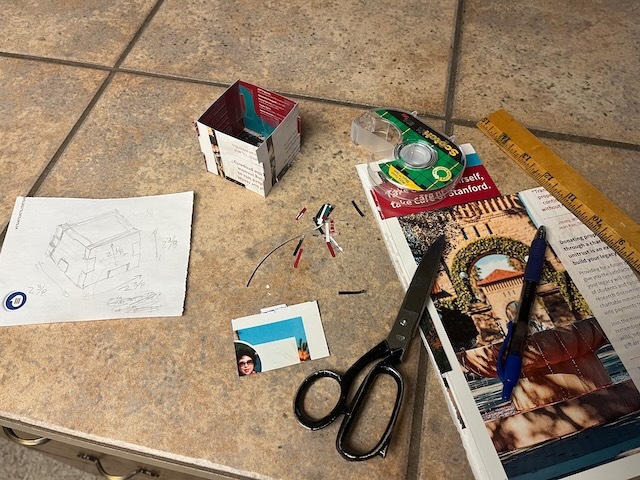
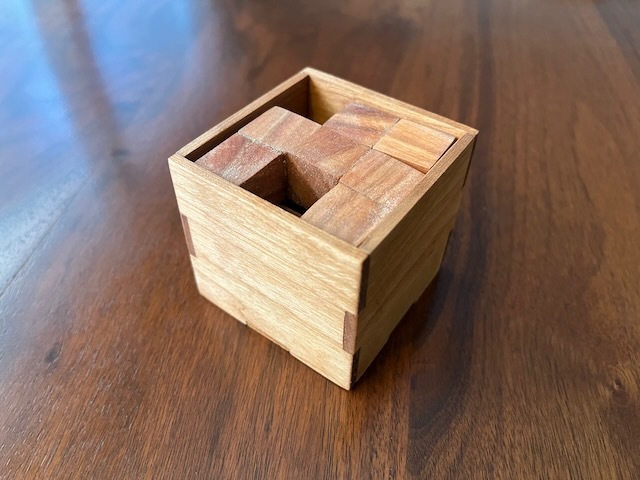
I had expected to be done at this point, but then decided that it would be nice for the puzzle to have a storage box (it would also make the goal clearer, fit all three pieces into the box).
I started by prototyping a box out of cardstock.
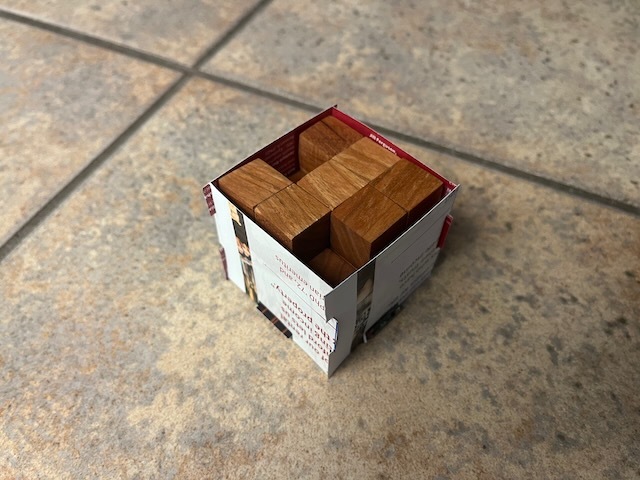
Happy with the design, I bought some milled 1/8 inch cherry and birch wood to make the boxes from.
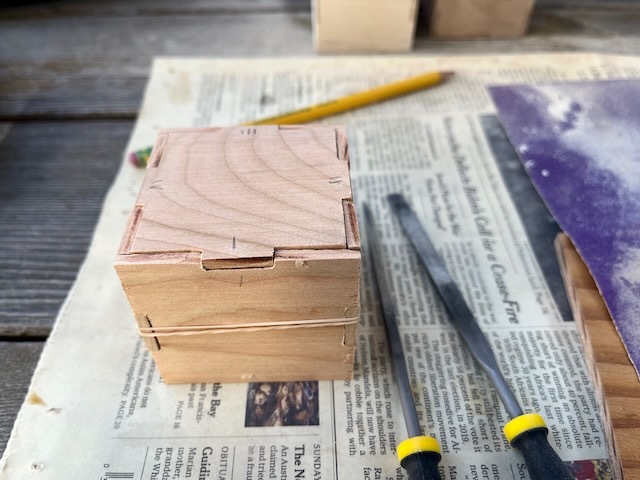
Working against a deadline to have a completed puzzle ready to gift to a friend on a trip I was about to take, I decided to cut the box joints on the CNC instead of cutting them by hand.
I designed and cut a CNC jig to hold the bottom and side panels while the joint fingers were being cut into the mating edges.
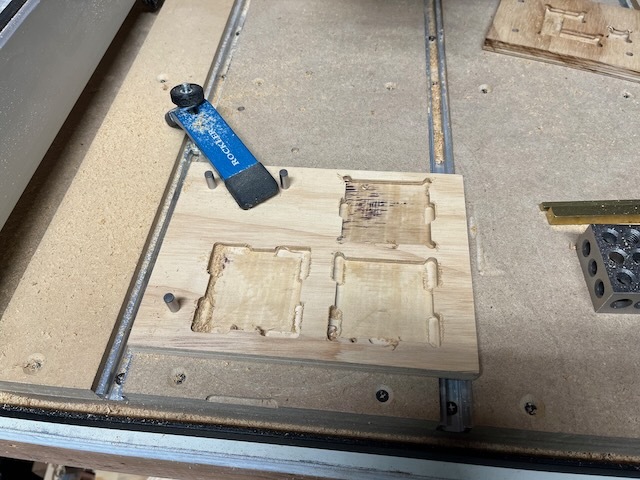
The panels were held into the jig with hot glue while being cut, a holding mechanism that I've become quite fond of.
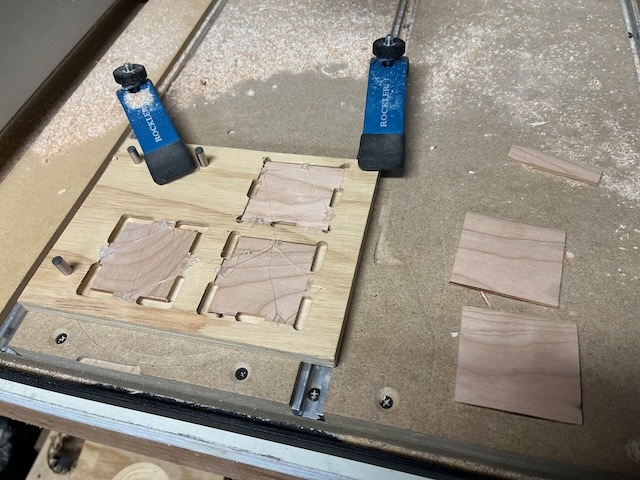
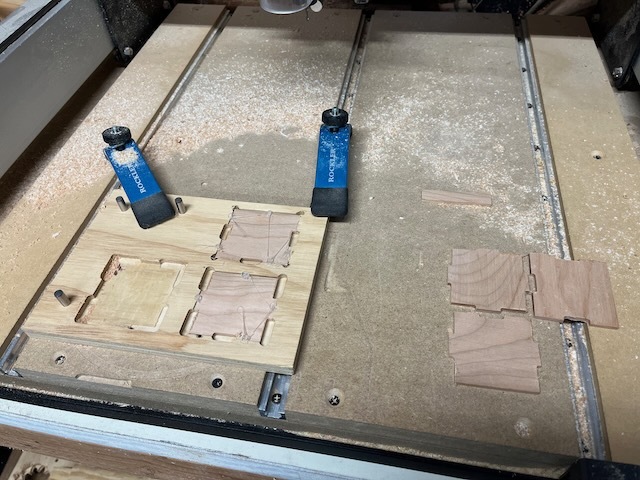
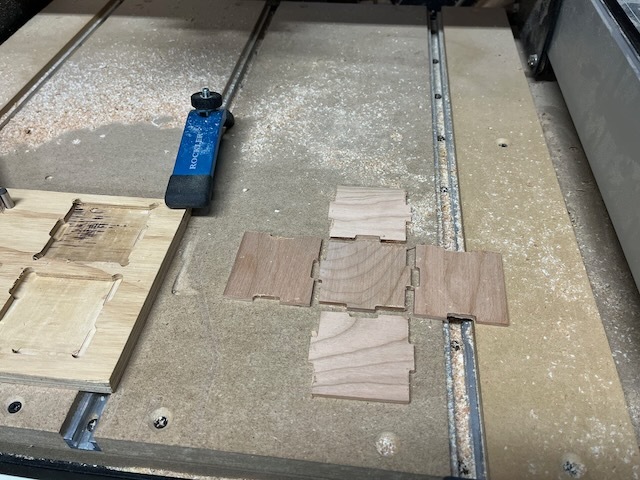
Rather than cutting relief into the joint corners on the CNC, I cleaned them up by hand with files for a nice fit.
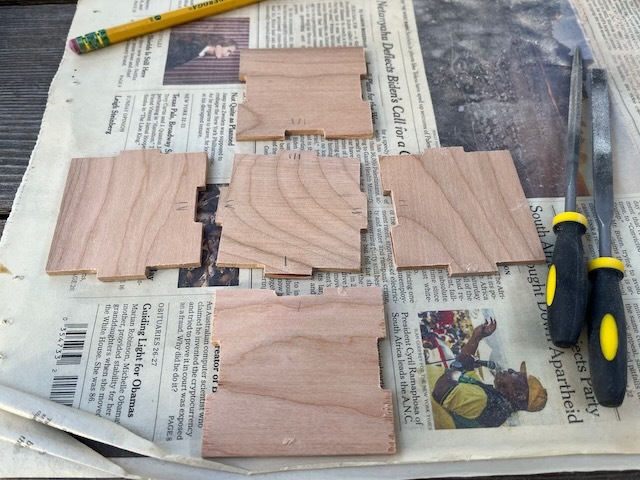
And this was the final result after a lot of sanding and finishing.
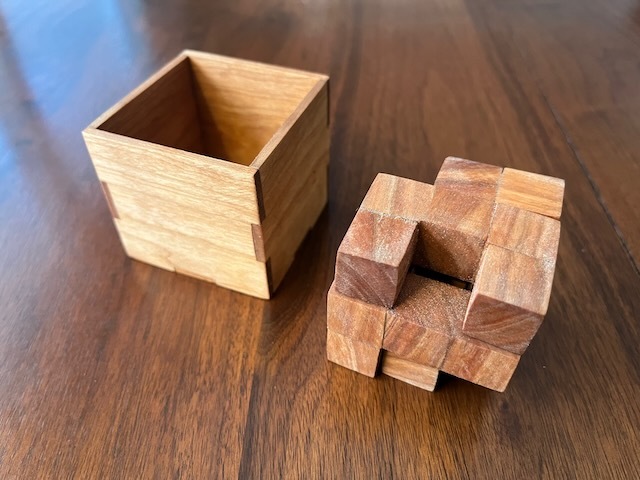
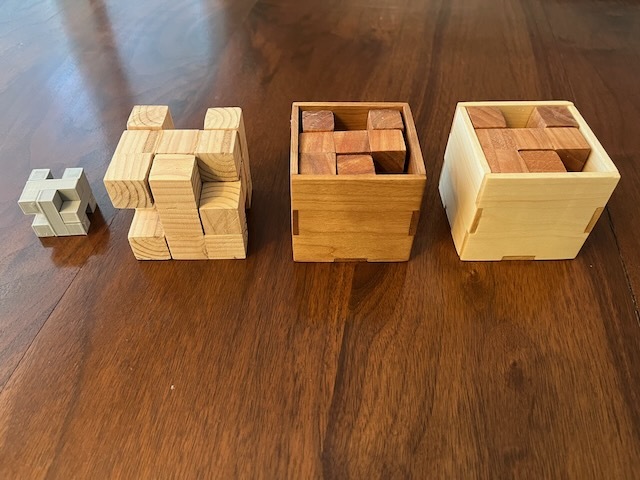
Here's the whole series from prototype to final products!